Grain-Free Mini Buns

bunturkeysandwich

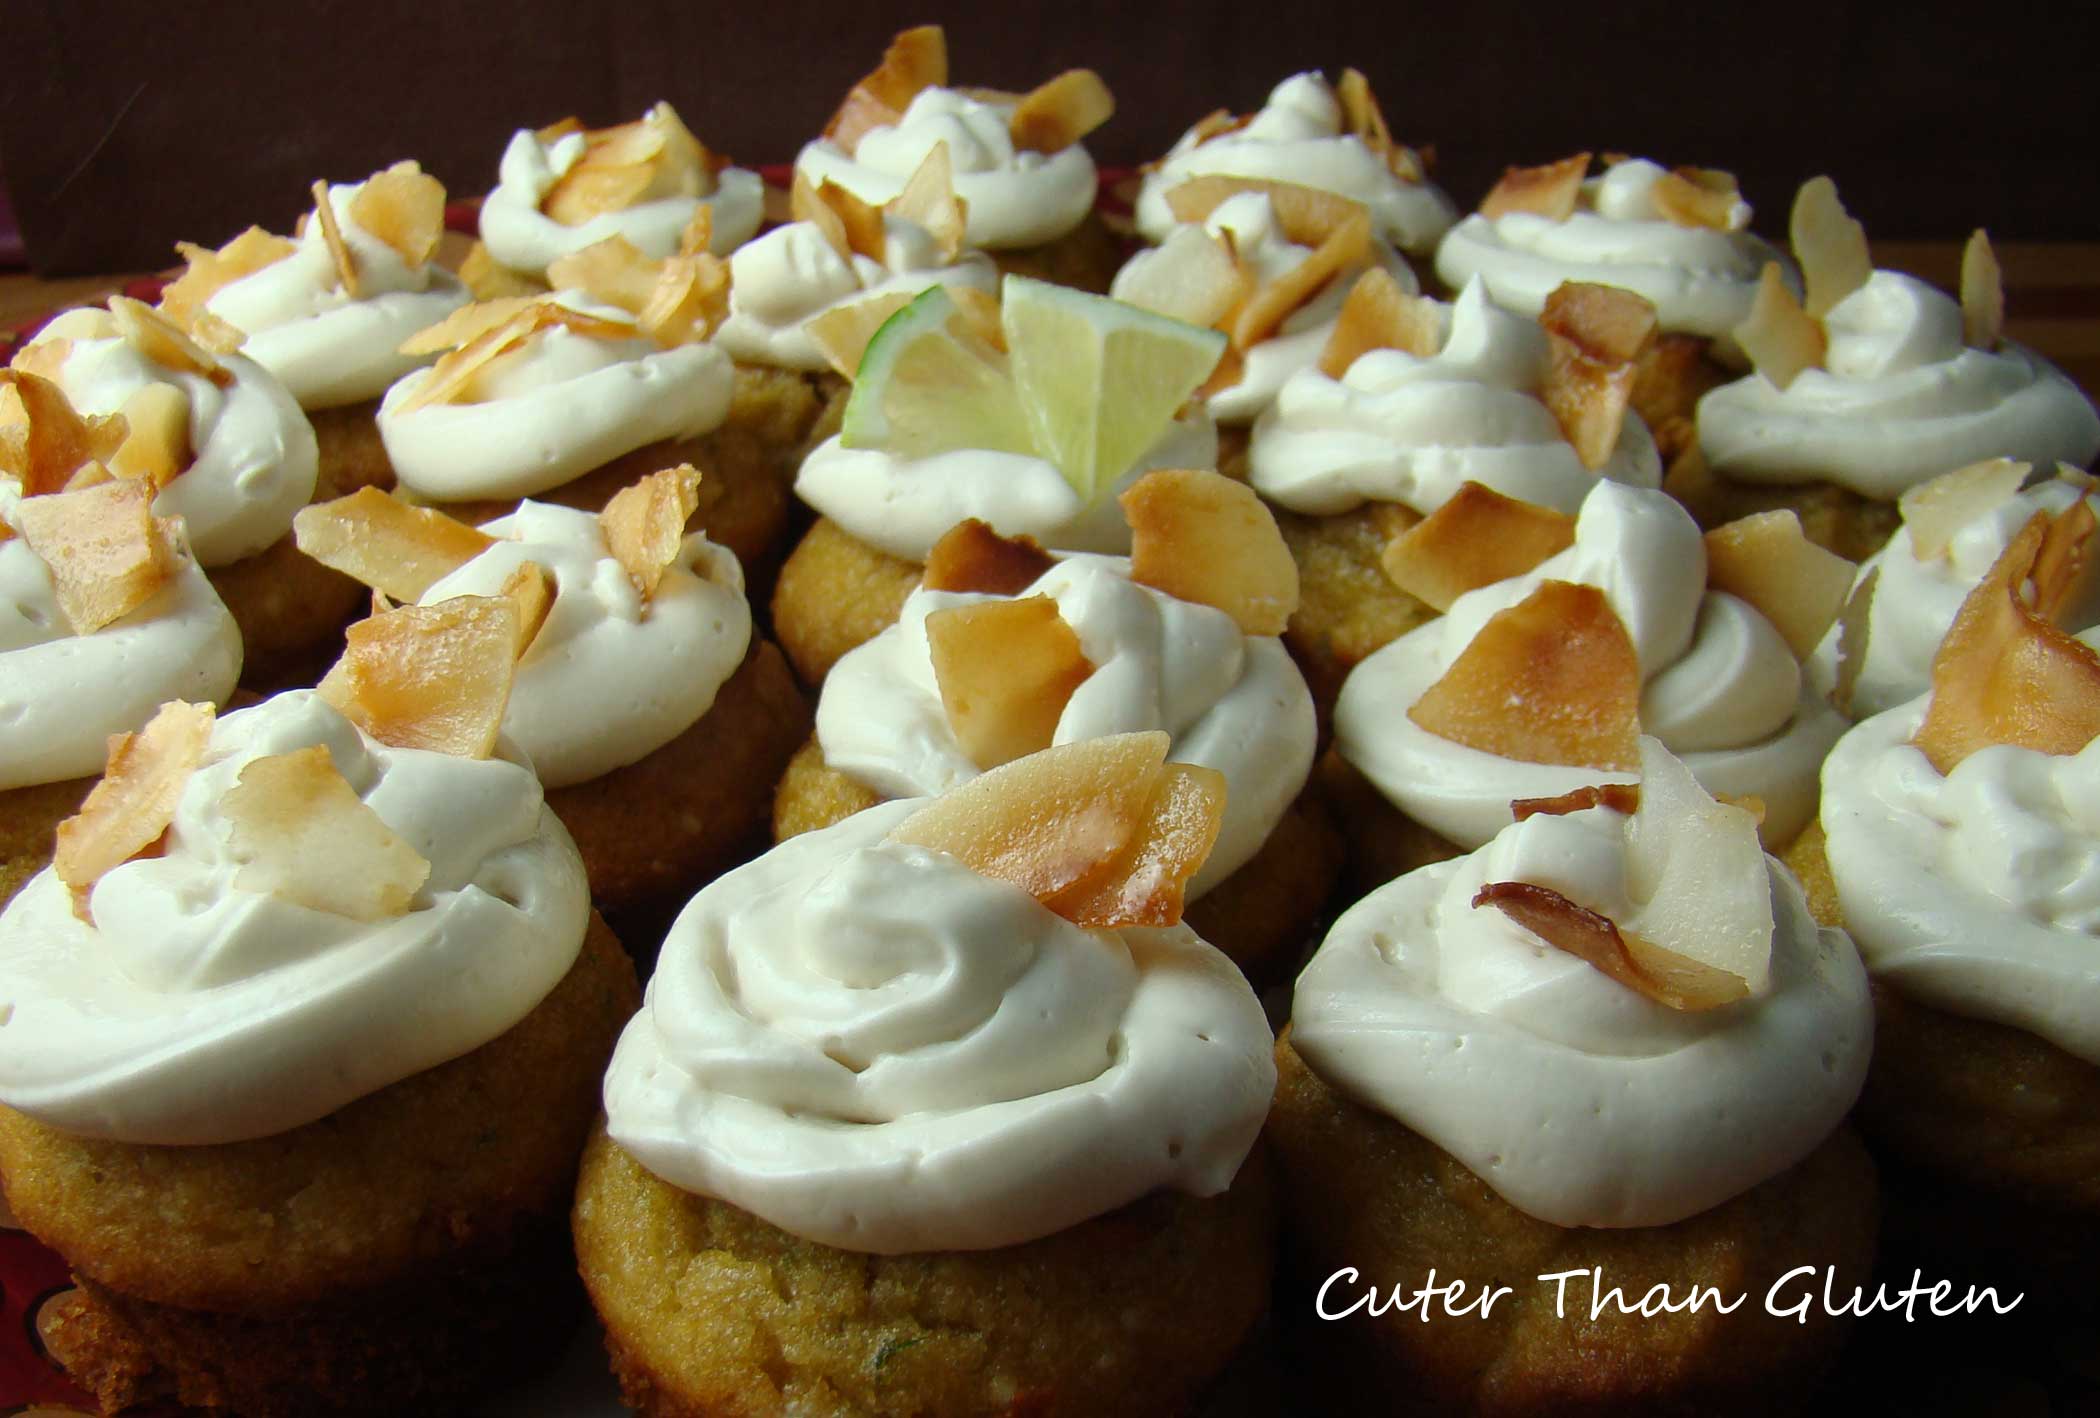
OK, these buns are not for everyone. They taste great- no one has said they aren’t delicious- but… they turn green inside. I mean super bright green. If you think that is fun; well then you are in luck! If you can’t stand the thought of eating green bread, you can replace the Sunbutter with cashew butter or another nut butter. The thing is, they really taste the best with the Sunbutter. If you make them and eat them all within an hour, then you will most likely avoid the green issue altogether.

bunoscar

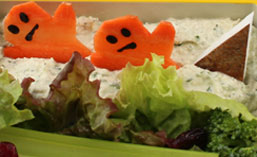
I embraced the green and made an Oscar the Grouch sandwich by turning the bun “inside-out”. This is the true color of the buns after a few hours. His face is made with radishes and nori paper. The other side is a trash “salad” including; broken homemade gummy legos, a homemade gummy fish bone, already bitten cheese, and so forth.

Buns

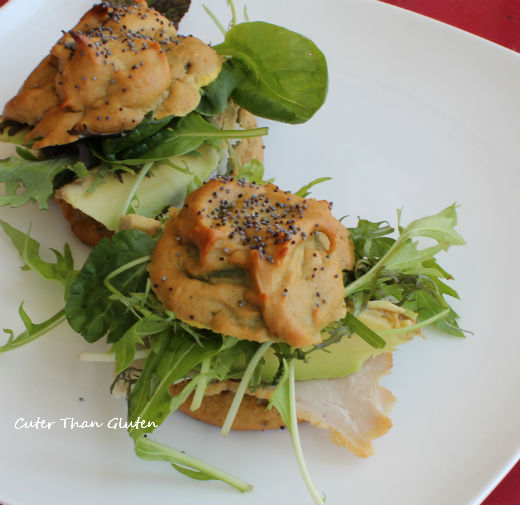
(Before turning green.)

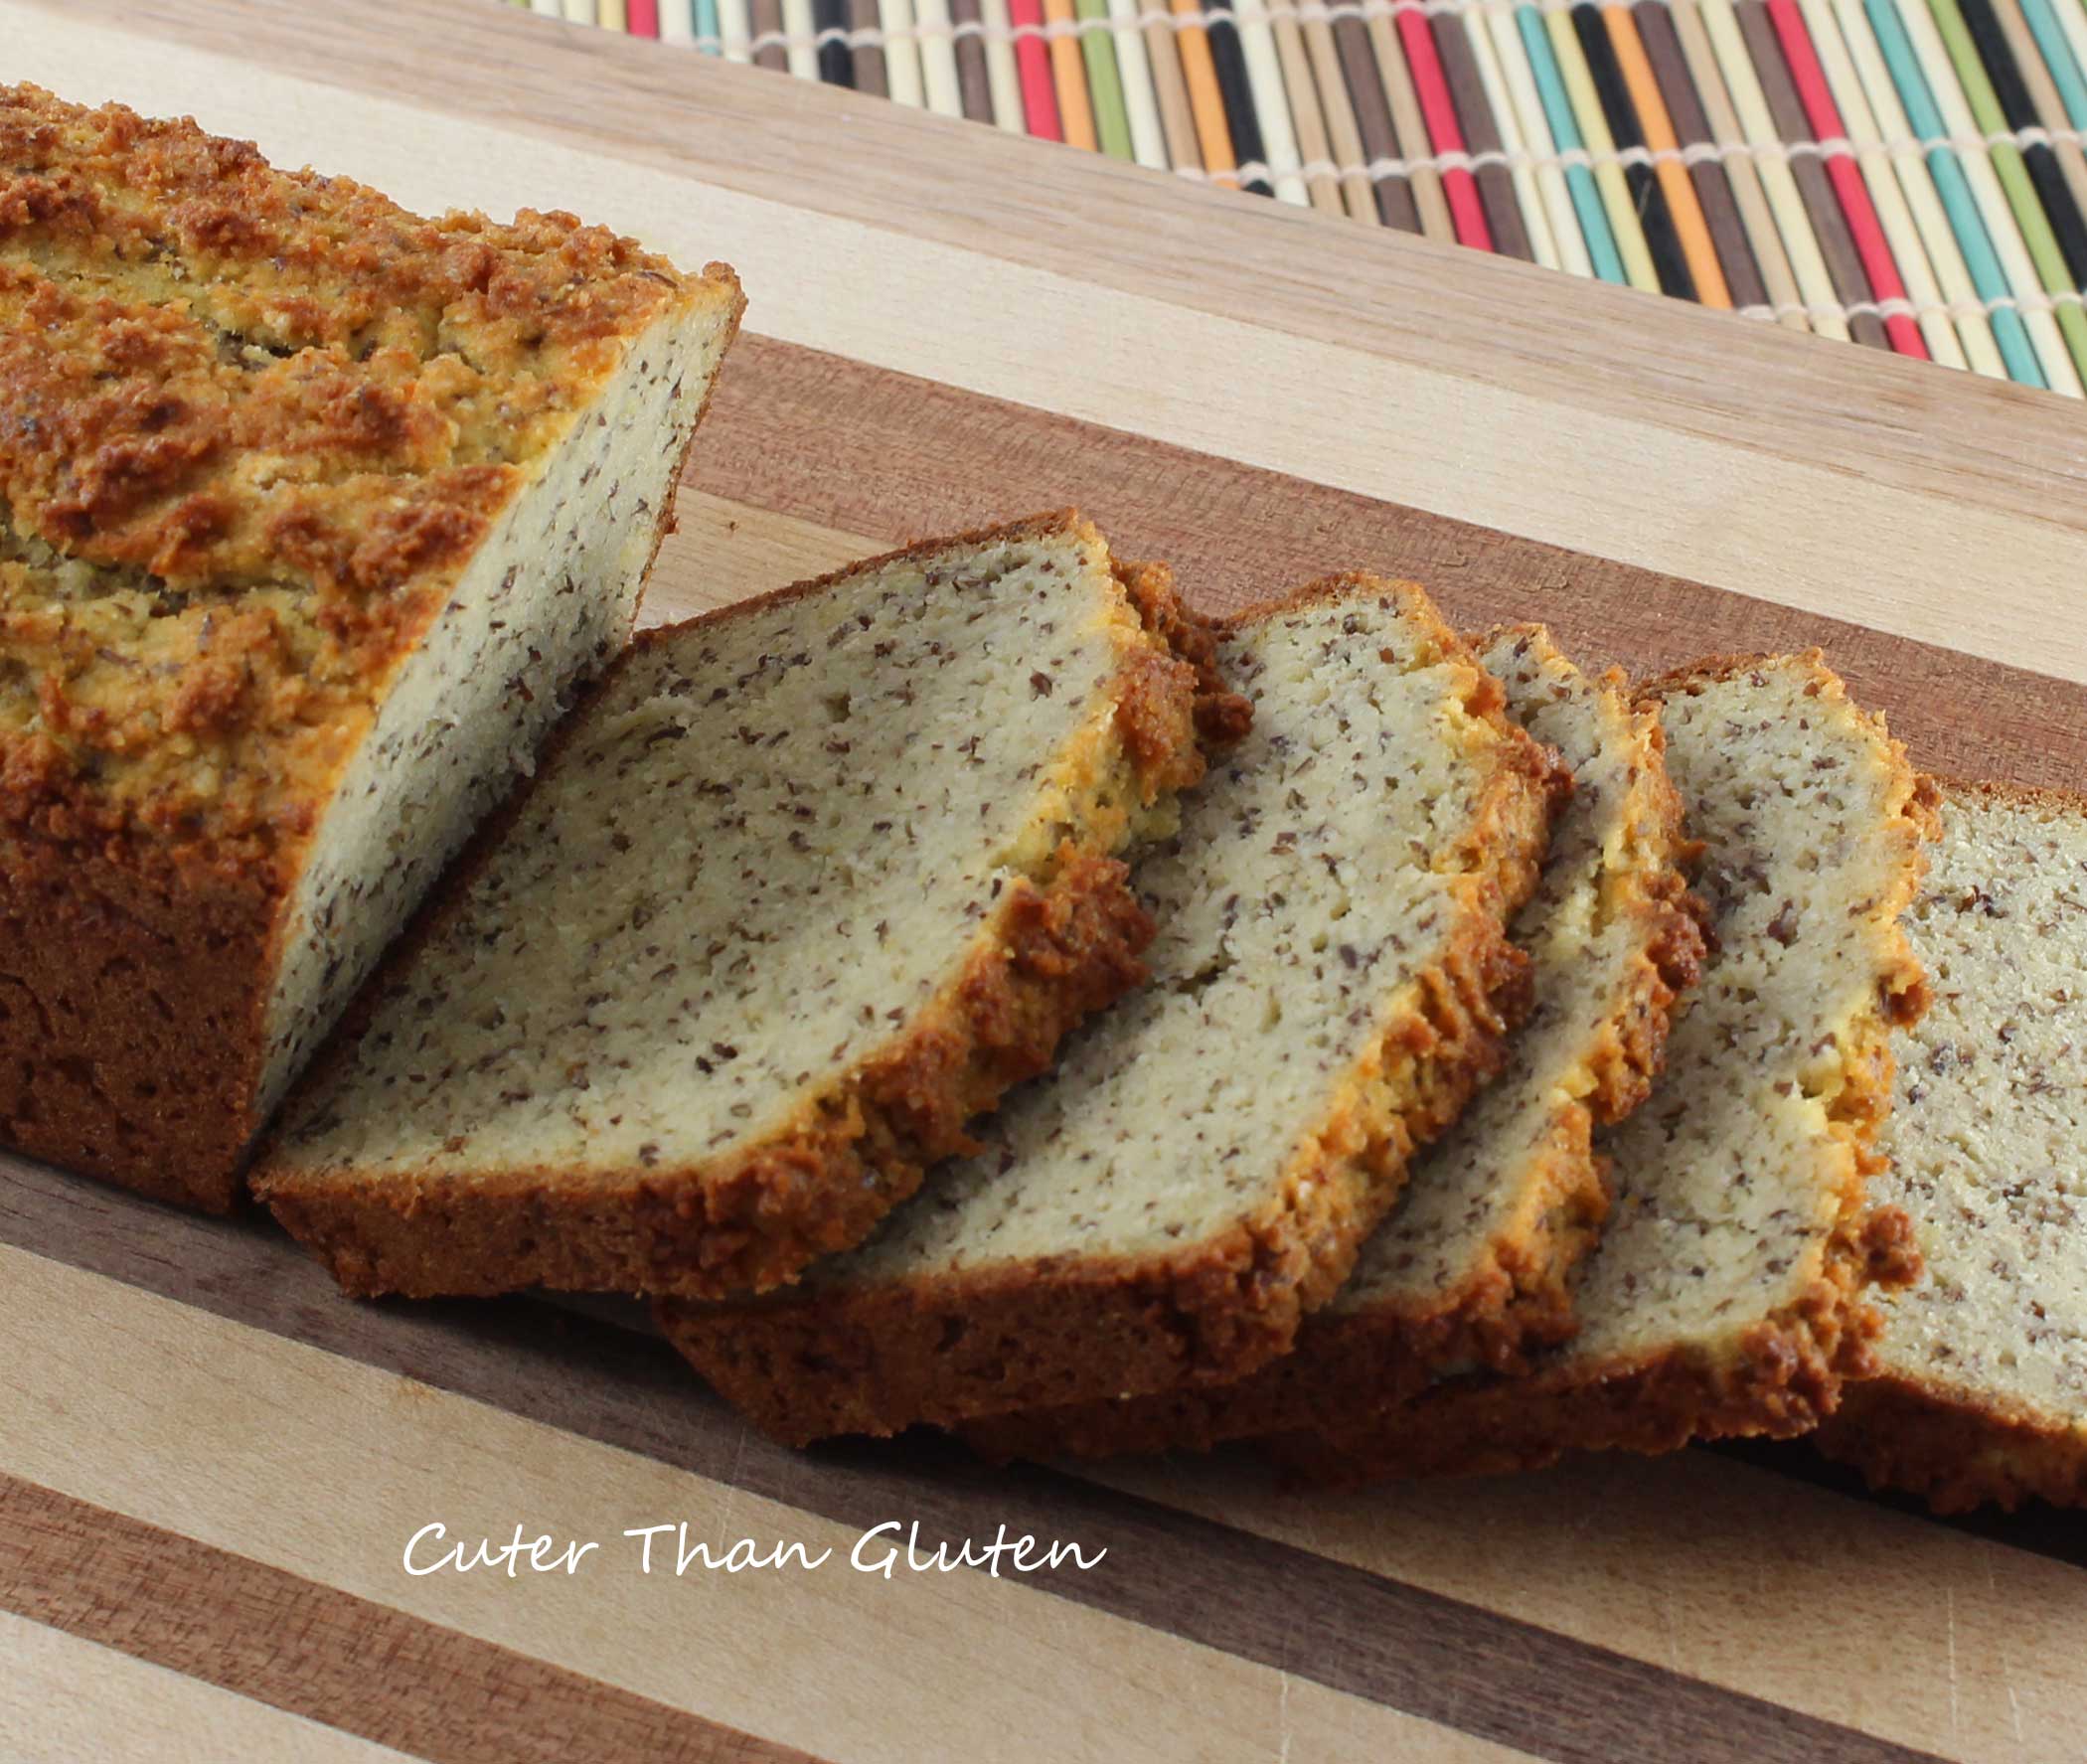
Also you can bake this in a mini loaf if you want some tiny bread. (Just add a bit of baking time.)

Grain-Free Mini Buns Recipe
~~~~~~~~~~~~~~~~~~~~~~~~~~~~~~~~~~~~~~~~~~

1 cup mashed Hannah Yam (other sweet potatoes may work but I like the Hannah Yams best, also potatoes will most likely be good for this)
2 tablespoons Sunbutter (unsweetened)
1 egg
1/4 cup egg white protein powder (I do not recommend substituting with other protein powders)
1/2 teaspoon apple cider vinegar
1/2 teaspoon baking soda
1/4 teaspoon salt
Seeds (optional; I like poppy seeds the best)

~~~~~~~~~~~~~~~~~~~~~~~~~~~~~~~~~~~~~~~~~~

Preheat the oven to 325 degrees F. Prepare a baking sheet with parchment paper. Mix all of the ingredients together (adding one at a time). Spoon the mixture onto the baking sheet into 8-10 even “piles” that will form the buns.

Sprinkle the tops with poppy seed, sesame seeds, salt, or whatever else you like on top of your buns.

Bake in the oven for 30-40 minutes until they are golden on the bottom and feel springy to the touch. If you feel uncertain about the doneness, ere on the side of overcooked. (Avoid opening the oven for the first 20 minutes while the buns are rising.)

~~~~~~~~~~~~~~~~~~~~~~~~~~~~~~~~~~~~~~~~~~

I am sharing this recipe on

Grain-Free Chocolate Cake

spunkycakeKelly, from The Spunky Coconut, has a great white chocolate pie recipe. I have made it too many times (you know- as in eating too many treats). I came up with some fun modifications and ways to make it cute that I want to share with you. Plus I created a new cake base and I now call Kelly’s recipe “white chocolate frosting” instead of “pie”.

Above I cooked my cake base as a three tiered cake. Then I took Kelly’s recipe and split it into three parts: white chocolate (standard), pink chocolate (standard plus beet juice- can’t taste a difference), and dark chocolate.

spunkycake2Another time I split Kelly’s recipe and added peanut butter to part, and chocolate to another part and made a swirl by pouring all the white in first, then drizzling the dark over the top.

spunkycake3

And another time… I made mini cakes in tart pans and let three lucky girls decorate three cakes with homemade gummies, chocolates, homemade pink frosting, and cereal.

ladybug5

So here is what my cake looks like up close.

Frosting Recipes
~~~~~~~~~~~~~~~~~~~~~~~~~~~~~~~~~~~~~~~~~~

Notes on Kelly’s recipe:
1) It works perfectly as written.
2) I prefer the white without vanilla extract.
3) I find it works a bit better to “bloom” the gelatin before adding it to the mixture. Just soak the gelatin in a couple of tablespoons of cold water. (I learned this watching Master Chef).
4) I don’t bother melting the cacao butter separately- I just toss it in after the heat is off, then blend it all together.

Peanut Butter White Chocolate: The Spunky Coconut Recipe plus… 1/4 cup of peanut butter or more to taste (I like it with salted peanut butter).

Dark Chocolate: The Spunky Coconut Recipe minus 2-3 ounces cacao butter… plus… 2 ounces baker’s chocolate (I use Ghirardelli) This can be a bit “un-sweet” so you may want to add a bit of honey (but I don’t).

Pink: The Spunky Coconut Recipe plus… a few tablespoons of beet juice. (I put beet peels in a pot with about a 1/4+ cup of water, boil it, then strain it.)

Grain-Free Chocolate Cake Recipe
~~~~~~~~~~~~~~~~~~~~~~~~~~~~~~~~~~~~~~~~~~

1 1/2 cups mashed Hannah Yams (sweet potatoes are not the same but they can work)
1/4 cup sunbutter
2 eggs
1/3 cup honey
1/2 teaspoon apple cider vinegar
1 teaspoon vanilla extract
1/4 cup egg white (protein powder)
1/4 cup cacao powder
1/4 teaspoon salt
1/2 teaspoon baking soda
3 tablespoons cacao nibs

~~~~~~~~~~~~~~~~~~~~~~~~~~~~~~~~~~~~~~~~~~

Preheat the oven to 350 degrees F. Prepare a cake pan or pans with parchment paper and oil the sides. You can use an 8 or 9-inch cake pan. Use smaller or bigger pans depending on the design plan. Remember to leave room for the frosting (a pan with tall sides).

Combine all of the ingredients in a mixing bowl.

Smooth the batter in the pan.

Bake for 20-35 minutes. The time will depend on the size of the pan. The cake is done when it is spongy to the touch in the center of the cake and the sides are looking done.

Allow the cake to cool. Loosen it from the pan, then put it back into the pan. Pour the frosting on top and allow the frosting to fully set in the refrigerator. Run a knife around the edges and carefully tip the cake out of the pan.

~~~~~~~~~~~~~~~~~~~~~~~~~~~~~~~~~~~~~~~~~~

I am sharing this recipe on Allergy Free Wednesdays,

Grain-Free Travel Cakes

travelcakes

I really want to participate in a monthly blog sharing called, “Go Ahead Honey, It’s Gluten-Free“, and the due date for the recipe is tomorrow. I have already write the recipe, tested it, and photographed it. That’s not the problem. The problem is this write-up. I need to crop the photo, type in the recipe and publish it. The issue being, I have a concussion! And I feel… not so great. I bonked my head on my husband’s roof rack when borrowing his car. Not fun. The doctor said I would get better when I got better- today is day 4. I already went to the chiropractor and tomorrow I have craniosacral. A few minutes ago I decided chocolate and sugar would make me feel better so I had some Food for Life chocolate chips. FYI: chocolate chips do not mitigate the symptoms of a concussion (I think we all saw that coming).

Back to the bars… They can be cut with cookie cutters…

travelshape

And baked as cupcakes too…

travelcute

So what do they taste like?

Soft and nice like a cake, a bit dense and moist- so they don’t fall apart. Sweet but not really a dessert. I consider them in the snack category rather than a treat, but they aren’t savory.

I realize you might not have egg white protein powder and I really don’t know how to sub for that. I use it a lot in recipes, so if you buy some you will have more opportunities coming up to use it. Rice protein or whey protein may work… or some coconut flour- but none of those ideas have been tested.

So, in my opinion these cakes are delicious and they travel nicely. Here are two variations:

Grain-Free Travel Cakes Recipe
~~~~~~~~~~~~~~~~~~~~~~~~~~~~~~~~~~~~~~~~~~

3/4 cup mashed banana (about 2)- ripe but not too soft
1/2 cup cooked mashed Hannah Yam (white sweet potato, I don’t know how the orange ones would be but most likely fine)
1 egg
1 teaspoon vanilla extract
2 tablespoons sunflower butter (unsweetened)
3 tablespoons egg white protein powder- plain, packed (NOW brand is gluten-free)
1/2 teaspoon baking soda
pinch salt

Variation 1: 2 tablespoons of cacao nibs (and/or other nuts and dried fruit)- add to batter at end
Variation 2: zest of 1 lemon and 1/2 cup freeze dried strawberries – ground into dust- stirred into the batter

~~~~~~~~~~~~~~~~~~~~~~~~~~~~~~~~~~~~~~~~~~

Preheat the oven to 350 degrees F. Prepare an 8×8 or 9×9 baking pan- round or square with parchment paper and grease.

Mix everything together- you know, start at the top of the list and work your way down.

Smooth the batter into the baking pan and bake for about 35 minutes. The top will be gold and still have some give when you touch it. I have found some pans – thin metal- bake faster than ceramic or glass. Just check it at 30 minutes and go from there.

Cool the cake completely before cutting and keep refrigerated after that.

~~~~~~~~~~~~~~~~~~~~~~~~~~~~~~~~~~~~~~~~~~

I am sharing this recipe on Go Ahead Honey It’s Gluten-Free,

Grain-Free Bread and Crackers: Elana’s Pantry

I have chosen to feature one of my favorite blogs, Elana’s Pantry, for Adopt a Gluten-Free Blogger this month.

Elana’s Pantry is one of the first three blogs I started following. I love her recipes- they are always succinct in both the ingredient list and the instructions. I have never made one of her recipes and had to throw it in the trash. Odd compliment I know, but I hate having ruined food.

In addition to her blog, Elana wrote two cookbooks (I have her third per-ordered).  I enjoy both of her books. Check out these coconut lime cupcakes I made from her gluten-free cupcake book.

elanacupcakes

And her Paleo Bread is outstanding- I keep some in my freezer in case I “need” bread.

elanabread

My kids like this bread too, so I made it cute, along with gluten-free pretzels, oranges, pistachios, cheese (my kids are occasionally eating dairy cheese these days), and carrots.

elanabento

I also tried out Elana’s Multi “Grain” crackers. They were great with tuna salad. I only had black sesame seeds so mine are more blue than hers. I also needed less water than the recipe called for.

elanacrackers

And I made her Cinnamon Breakfast Bread. I omitted the honey completely and served them with dinner. I used less cinnamon because I have very strong cinnamon. They were delicious. My kids even fought over the last piece, despite it having no sweetener!

Elanabreakfast

Elana is an inspiration for health and cooking. All of her recipes are grain-free, and many are dairy-free. Check her recipes out for yourself sometime, and come back here for more recipes soon!

Carrot Cake Quackers and Vegan Carrot Cookies

Quackers

New book

I love it

great stories

Bento

dairy-free

buy online

Culinary Creativity: Let your restrictions set you free, available on Amazon.

Carrot Cake Muffin Recipe
(see below for cookies)

~~~~~~~~~~~~~~~~~~~~~~~~~~~~~~~~~~~~~~~~~~~~

1 cup quinoa flour
1 teaspoon baking powder
1/4 teaspoon baking soda
1/4 teaspoon salt
1/2 teaspoon cinnamon
1/4 teaspoon ground ginger
1/4 teaspoon nutmeg
1 egg
3 tablespoons oil (most kinds will be fine)
1/3 cup applesauce
1/4 cup honey
1 cup shredded carrots (about 3 large carrots)
1/3 cup raisins

~~~~~~~~~~~~~~~~~~~~~~~~~~~~~~~~~~~~~~~~~~~~~~~~~

Preheat the oven to 350 degrees. Prepare a muffin tin with papers (makes 6-7 muffins). This recipe might work out fine to oil the muffin tins instead of paper but I didn’t test that.

Combine the dry ingredients.

Combine the wet ingredients.

Mix the wet and dry together and add the carrots and raisins.

Scoop 1/4 cup of batter into each prepared muffin cup.

Bake for about 20 minutes until a toothpick comes out clean. Remove the muffins from the tin to cooling rack immediately so that the papers don’t get soggy.

* We enjoy these as muffins without frosting. I did frost them for the photo shoot and as a special treat, but there is no specific recipe for the frosting.

Carrot Muffin

Vegan Carrot Cookie Recipe
~~~~~~~~~~~~~~~~~~~~~~~~~~~~~~~~~~~~~~~~~~~~~~~~~

1 tablespoon flax meal with 2 tablespoons water (or 1 egg for non-vegan)
1/2 cup quinoa flour
1/2 cup quinoa flakes
1/2 teaspoon baking soda
1/4 teaspoon salt
1/2 teaspoon cinnamon
1/4 teaspoon ground ginger
1/4 teaspoon nutmeg
3 tablespoons oil (most kinds will be fine)
1/4 cup raw agave nectar (or honey for non-vegan)
1/2 cup finely grated carrots (about 2 carrots)
1/3-1/2 cup raisins

~~~~~~~~~~~~~~~~~~~~~~~~~~~~~~~~~~~~~~~~~~~~~~~~~

Preheat the oven to 350 degrees. Prepare a baking sheet with parchment paper.

Combine the flax and water and set aside.

Combine the dry ingredients.

Combine the wet ingredients, including the flax.

Mix the wet and dry together and add the carrots and raisins.

Place spoonful-dolops of cookie batter on the baking sheet. (These don’t spread so you can place them close together.)

Bake for about 12 minutes (keep an eye on them to be sure the bottoms don’t get overcooked).  Set them out on a cooling rack.

Enjoy!

Makes about 16 cookies.

Shared on Slightly Indulgent Tuesdays, Allergy Free Wednesdays, Melt in Your Mouth Monday, Gluten-Free Wednesdays, Wellness Weekend

Pumpernickel Bagels (grain-free) and Rescue Bento

Rescue Bento

I love bagels. I ate 1-2 bagels everyday for years before going gluten-free. I missed their chew texture, delicious varieties, and versatility. I loved them as sandwiches, with cream cheese, as mini pizzas…

Pumpernickel Bagels

I do have Everything Bagels and Raisin Bagels in my cookbook. They are great and quite different from this recipe. But it is always fun to have options, so now I can add this grain-free pumpernickel bagel to the lineup.  Stay tuned as I am sure more bagel recipes are soon to follow.

For the bento, I was having a bit of fun telling a story. I used a paper punch for the face on the Avocado Lady and for the mouth of the Kumquat “Victim”. I baked the bagel in a miniature donuts pan (rather than full sized) and wrapped a chive around it.

My daughter thought it was too worrisome that the kumquat was yet to be rescued, so she placed him on top of the raft. She had quite a bit of fun playing with him.

Rescue Bento

Can these be made as muffins? Probably but I haven’t tried it. Does baking soda work too? Yes but use about 1/4 teaspoon. Can you substitute the eggs? I doubt it, but I feel free to experiment. I learned about baking with almond butter and eggs from Elana’s Pantry, so thank you Elana!

Pumpernickel Bagel Recipe
makes 6 bagels
~~~~~~~~~~~~~~~~~~~~~~~~~~~~~~~~~~~~~~~~~~

3/4 cup roasted almond butter, smooth, unsweetened
3 eggs
1/4 teaspoon salt
1/2 teaspoon baking powder
2 teaspoons molasses
2 teaspoons honey
1 teaspoon dried dill weed
2 teaspoons caraway seeds, toasted

Standard sized donuts baking pan (required)

~~~~~~~~~~~~~~~~~~~~~~~~~~~~~~~~~~~~~~~~~~

Preheat the oven to 350 F. Prepare the donuts pan with oil (6 slots). (I had one batch stick- that was frustrating, so I recommend being thorough here.)

Mix all of the ingredients together in a mixing bowl and then  fill the donut slots about 3/4 of the way.

Bake for 15-20 minutes. Be sure not to overcook or they become dry. They are done when a toothpick comes out clean and they feel firm but still have bounce.

Remove from the pans and set out on a cooling rack.

Enjoy hot out of the oven, toasted, or at room temperature.

This is shared on Slightly Indulgent Tuesdays, Fat Tuesday, Bento Blog Network, and Allergy Free Wednesdays